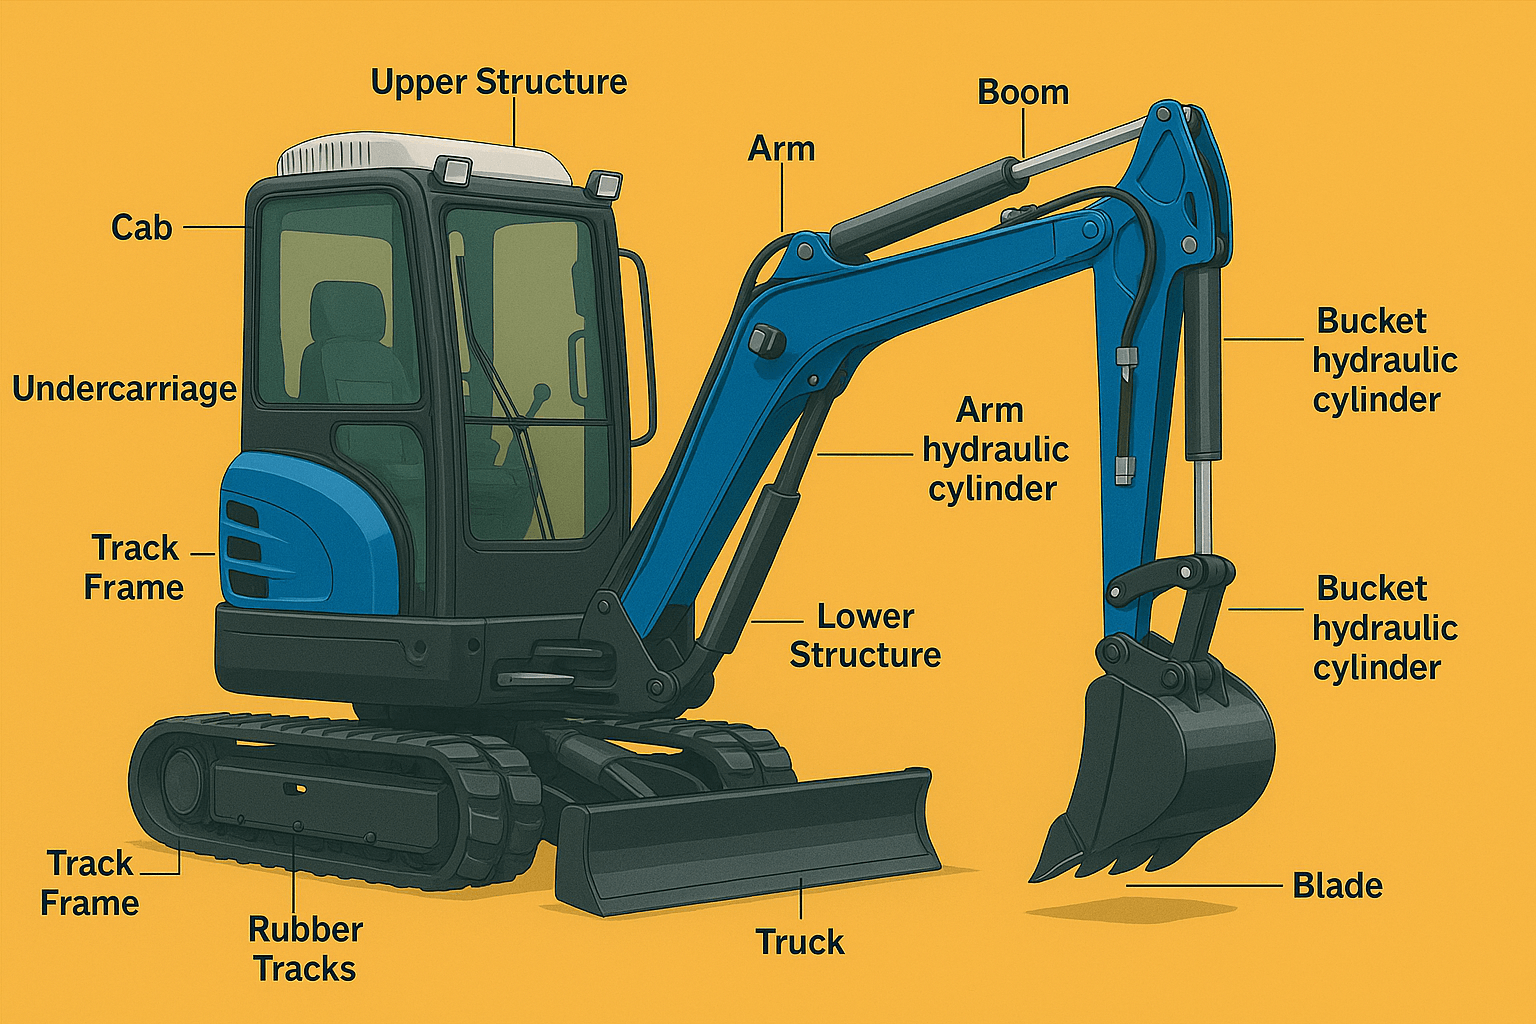
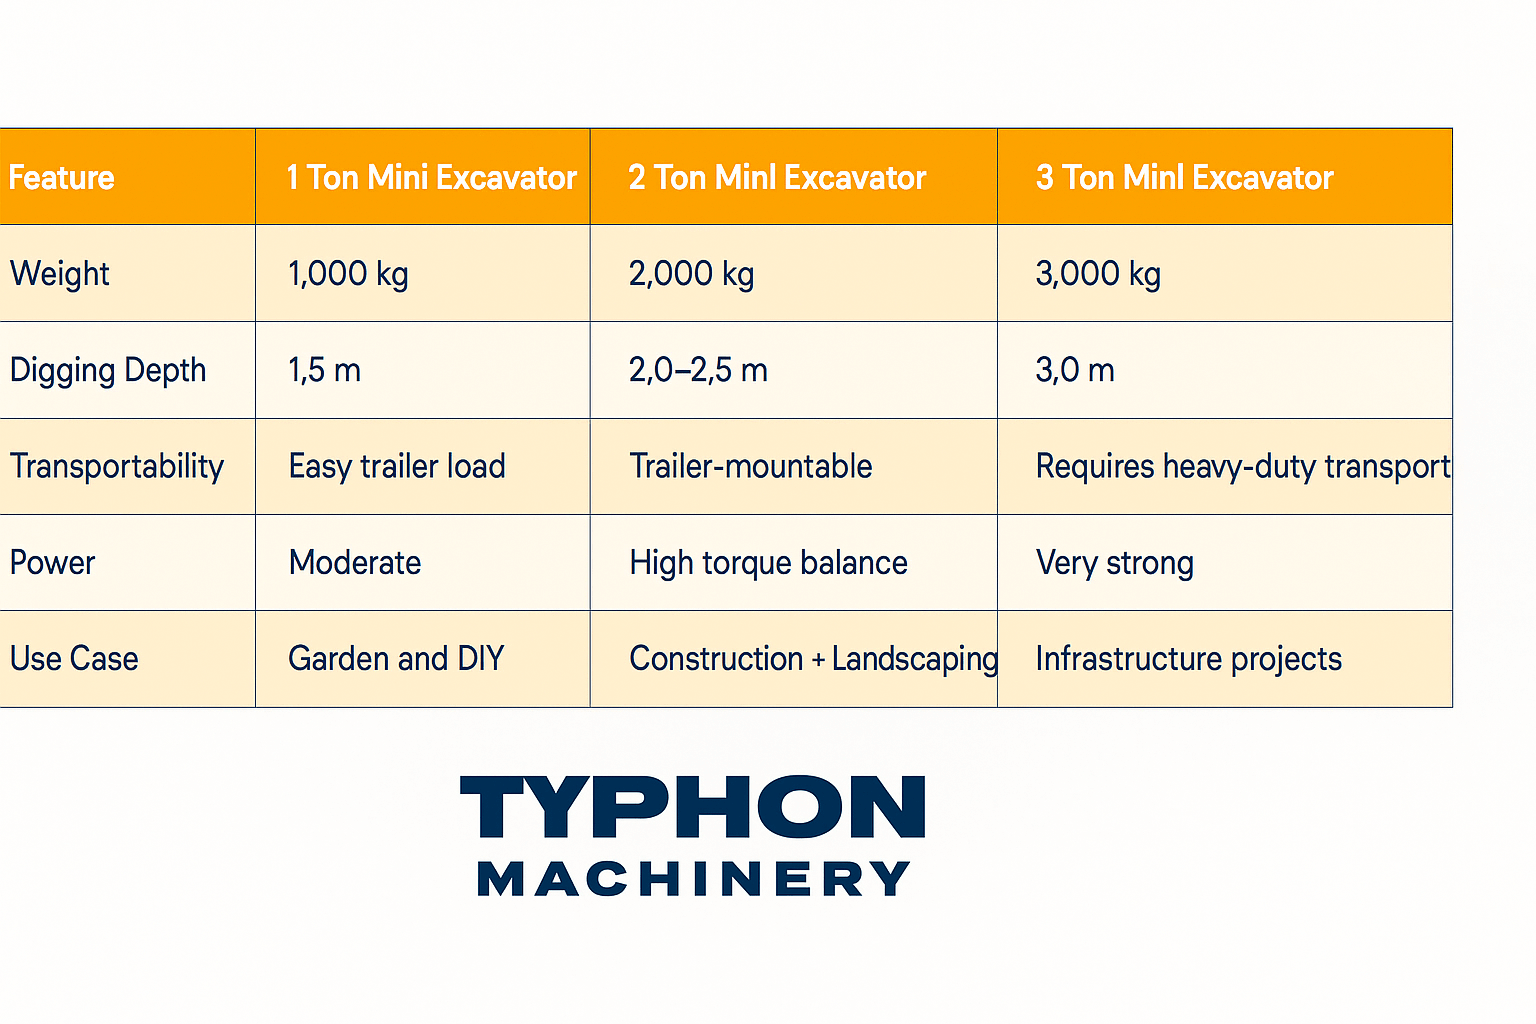
Operating a mini excavator is not just about getting the job done quickly; it’s about ensuring that the machine is in top condition for optimal performance and safety. Before you hop into the operator’s seat, taking the time to perform a thorough inspection is crucial. Here are 12 essential steps you should follow before starting your mini excavator.
1. Check the Engine Oil Level in the Sump
Maintaining the proper oil level is key to preventing engine damage. Always ensure the oil in the sump is at the correct level before starting the machine to avoid wear on internal components.
2. Check the Hydraulic Oil Level in the Hydraulic Oil Tank
Hydraulic oil is the lifeblood of your excavator’s system. Low levels can lead to sluggish operation or even damage to hydraulic components. Regularly check the oil level and top it up as necessary.
3. Check the Fuel Level in the Tank
Running out of fuel in the middle of a project can be costly and frustrating. Make sure you have enough fuel in the tank to complete the job at hand.
4. Inspect the Oil-Water Separator
The oil-water separator ensures your fuel system remains free from moisture and contaminants. Before starting the mini excavator, drain any water or sediment out of the separator to avoid fuel system issues.
5. Inspect Fuel Pipes for Leaks
A cracked or leaking fuel pipe can lead to fuel loss and pose a fire hazard. Check all fuel pipes for cracks, bends, or leaks, and replace them if necessary.
6. Examine the Work Equipment Pivots
The pivots on the boom, arm, and bucket endure constant stress during operation. Make sure these components are well-lubricated and free from excessive wear or damage.
7. Inspect Hydraulic Hoses and Pipelines for Leaks
Hydraulic fluid leaks can severely impact performance. Inspect the hoses and pipelines for signs of leakage or damage, and ensure that all fittings are secure.
8. Check the Bucket Teeth for Wear or Looseness
Bucket teeth wear out over time due to digging and scraping activities. Worn or loose teeth can reduce the excavator’s efficiency. Always check the teeth before starting and tighten or replace them if needed.
9. Ensure the Seat Belt is Functional
Safety should always come first. Make sure the seat belt is in good condition and properly fastened before operating the machine to protect yourself in the event of a mishap.
10. Inspect Bolts and Nuts for Tightness
Loose bolts and nuts can compromise the stability and operation of your excavator. Regularly check the torque of all bolts and nuts, particularly those securing high-stress components like the boom and bucket.
11. Look for Hydraulic Cylinder Issues
Check for signs of wear or damage on hydraulic cylinders. Make sure that the seals are intact and there’s no visible leaking around the cylinder areas.
12. Review the Controls and Gauges
Before you begin, familiarize yourself with the controls and ensure all gauges, lights, and indicators are functioning properly. This will help you monitor the machine’s performance during operation.
By following these 12 steps, you can extend the lifespan of your mini excavator, ensure smoother operation, and avoid costly repairs. Regular inspections not only improve efficiency but also keep you safe on the job.
Ready for the Best in Mini Excavators?
If you’re looking for a powerful, reliable machine that makes maintenance and operation a breeze, consider the TYPHON TERROR X2 STORM 2.5 Ton Mini Excavator with Diesel Perkins Engine. Designed for tough jobs and equipped with a trusted Perkins diesel engine, it offers the durability, efficiency, and ease of use that operators need. Click the link to explore the specs and order yours today!


