Skip to content
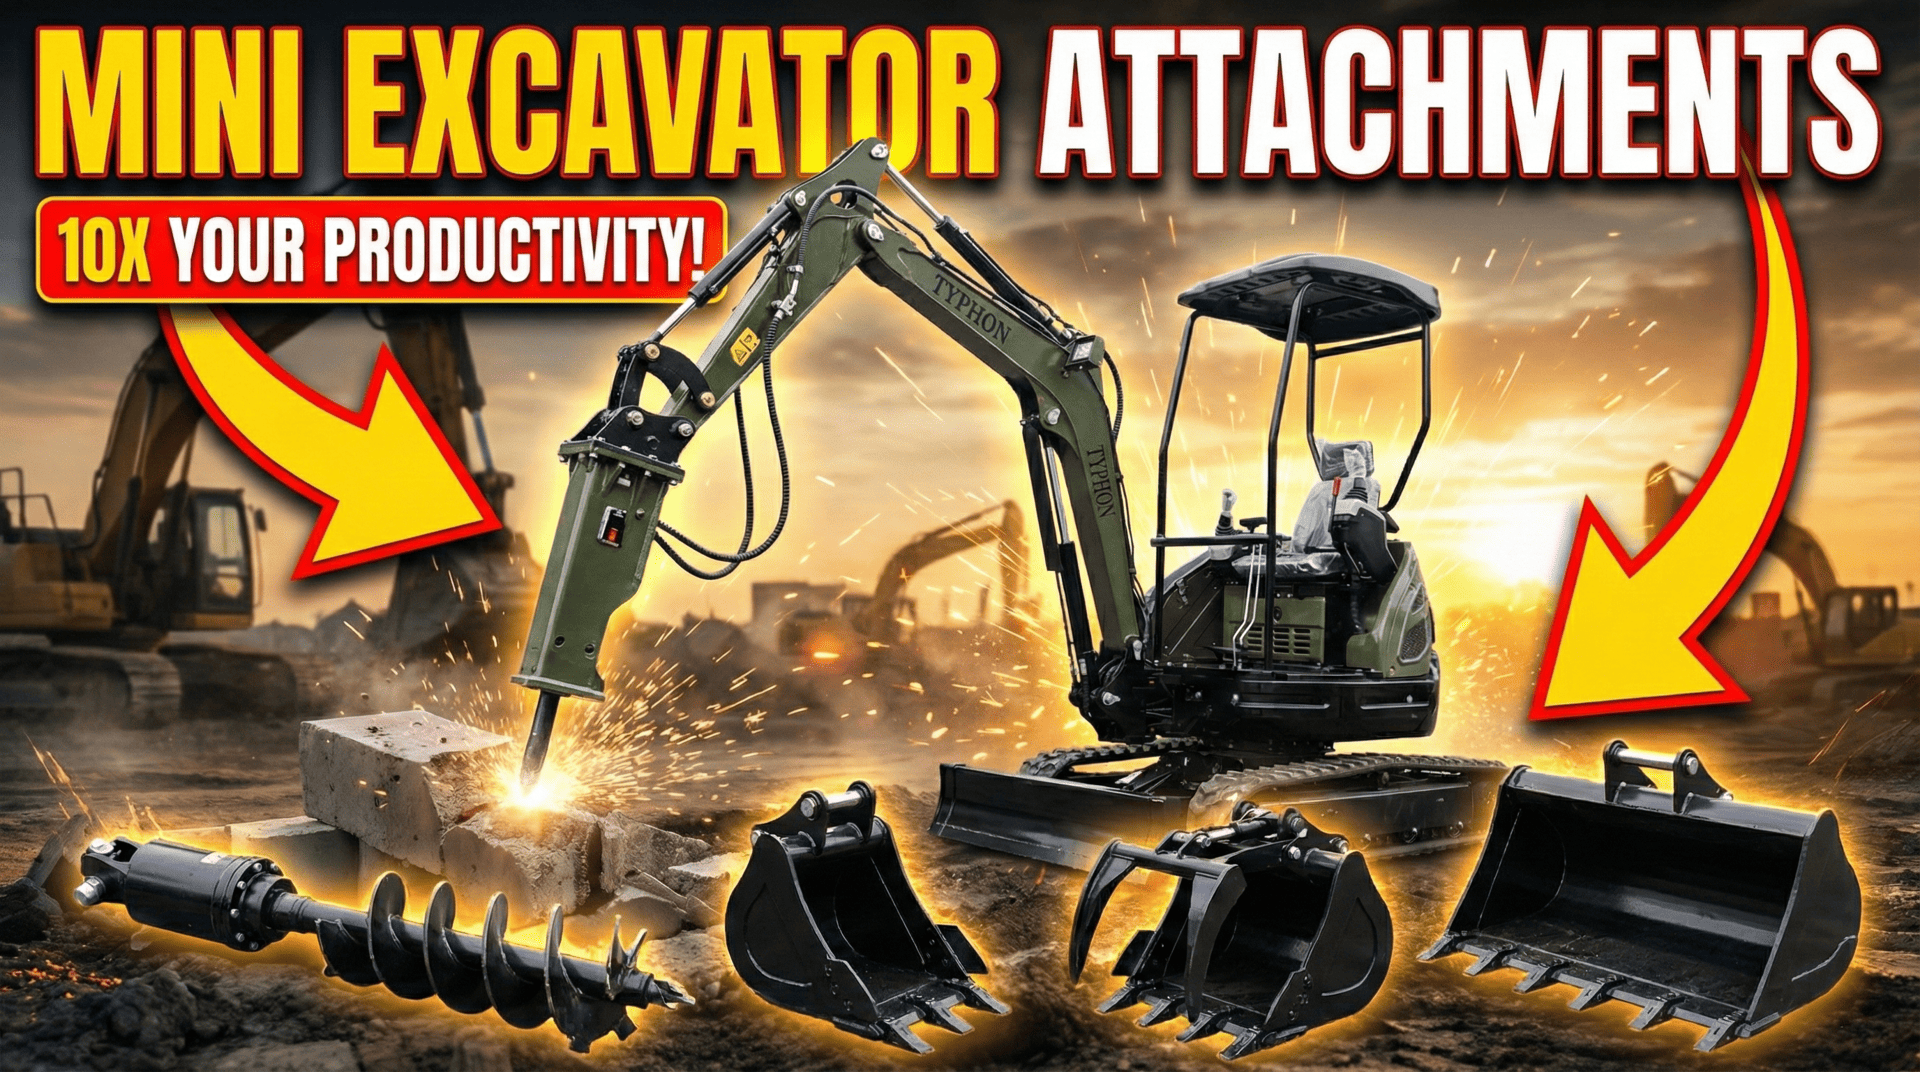
Mini Excavator Attachments
If you’ve spent any time on a job site—whether it’s a muddy residential backyard, a tight urban alleyway, or a sprawling farm—you know that space and time are the two things you never seem to have enough of.
In the old days, if you had to dig a trench, break up a concrete patio, and drill post holes for a fence, you were looking at renting three different machines or hiring a massive crew to do it by hand. Both options hurt the budget.
This is why the mini excavator has quietly become the most valuable player (MVP) in modern construction and landscaping. But here is the secret that veteran operators know: the machine itself is just the power source. The real magic happens at the end of the stick.
When you pair a mini excavator with attachments, you aren’t just buying a digger. You’re building a customized tool carrier that can handle just about anything the day throws at you, all without dragging a fleet of trailers to the site.
What Do We Mean by a System?
Many people look at a compact excavator and just see a bucket. And sure, it moves dirt beautifully. But thinking of it only as a digging machine is like buying a smartphone and only using it to make calls.
A mini excavator with attachments is essentially a hydraulic robot arm. The machine provides the muscle—the hydraulic flow and pressure—and the attachment offers the specialized function. Thanks to modern quick-coupler systems, an operator can often switch from a digging bucket to a hydraulic breaker in minutes (or even seconds, if you have a hydraulic hitch), often without even leaving the cab.
Moving Dirt: Beyond the Standard Scoop
Most people look at an excavator and just see a bucket. But if you talk to a veteran operator, they will tell you that “bucket” is a broad term. Using a standard tooth bucket for every task is like trying to eat soup with a fork—you can do it, but it’s going to be messy.
The Standard Digging Bucket is your bread and butter. It’s designed for aggression. The teeth (or shanks) are there to focus the machine’s breakout force into small points, allowing you to fracture tough clay or rocky soil. Typhon’s standard buckets are built with this task in mind, using hardened teeth that can be replaced when they wear down. This is crucial because you want to wear out a $20 tooth, not a $800 bucket.
But what happens when you need finesse? That is where the trenching bucket comes in. If you are laying a 4-inch drainpipe or a fiber optic cable, using a standard 24-inch bucket is a waste.
You are moving 500% more dirt than necessary, which means you’re burning more fuel to dig it out and taking more time to put it back. A 200 mm Typhon trenching bucket cuts a surgical line. It keeps the job site clean and minimizes the damage to the surrounding area, which homeowners love.
Then you have the Grading Bucket. These are wide, toothless, and feature a smooth, straight cutting edge. They act like a spatula for the earth. When the digging is done, you switch to this tool to backfill the trench and smooth out the topsoil. It leaves a finish that looks like it was done by hand, but in a fraction of the time.
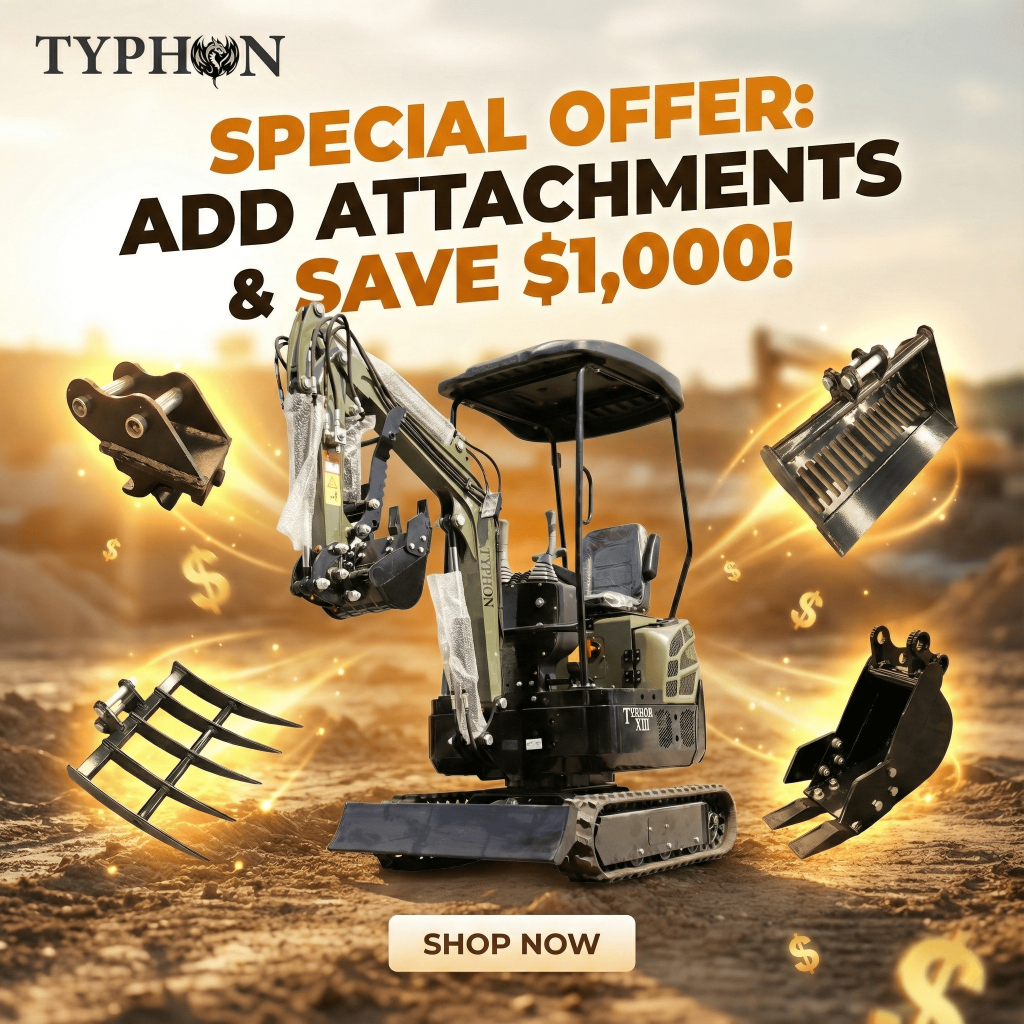
The Economics: Why Attachments Win Bids
Let’s talk money for a second. Margins are thin in construction and landscaping. If you are bidding on a mini excavator for a landscaping project that involves removing an old driveway and regrading the soil, you have two choices:
- Bring in a skid steer with a breaker, then swap it for an excavator for digging, and maybe a tractor for grading.
- Bring one mini ex with a breaker, a thumb, and a grading bucket.
The second option means less fuel, less trailer space, and fewer maintenance hours. It also means you, the operator, stay in one comfortable seat. Attachments allow a single operator to do the work of three, which is crucial when labor is difficult to find.
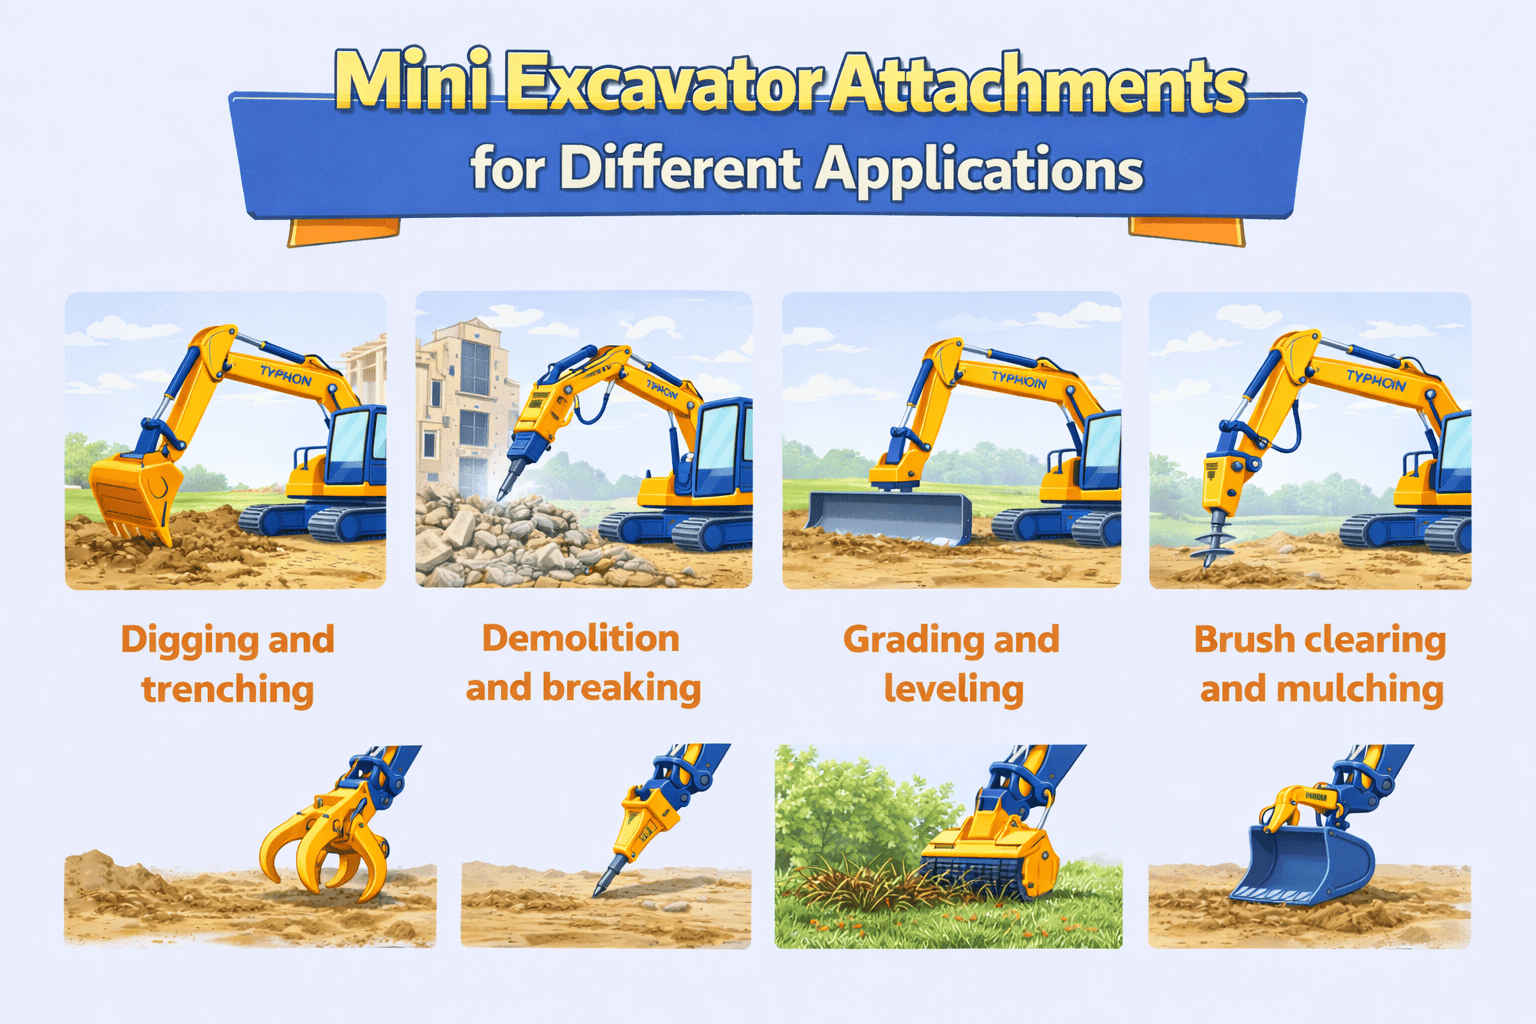
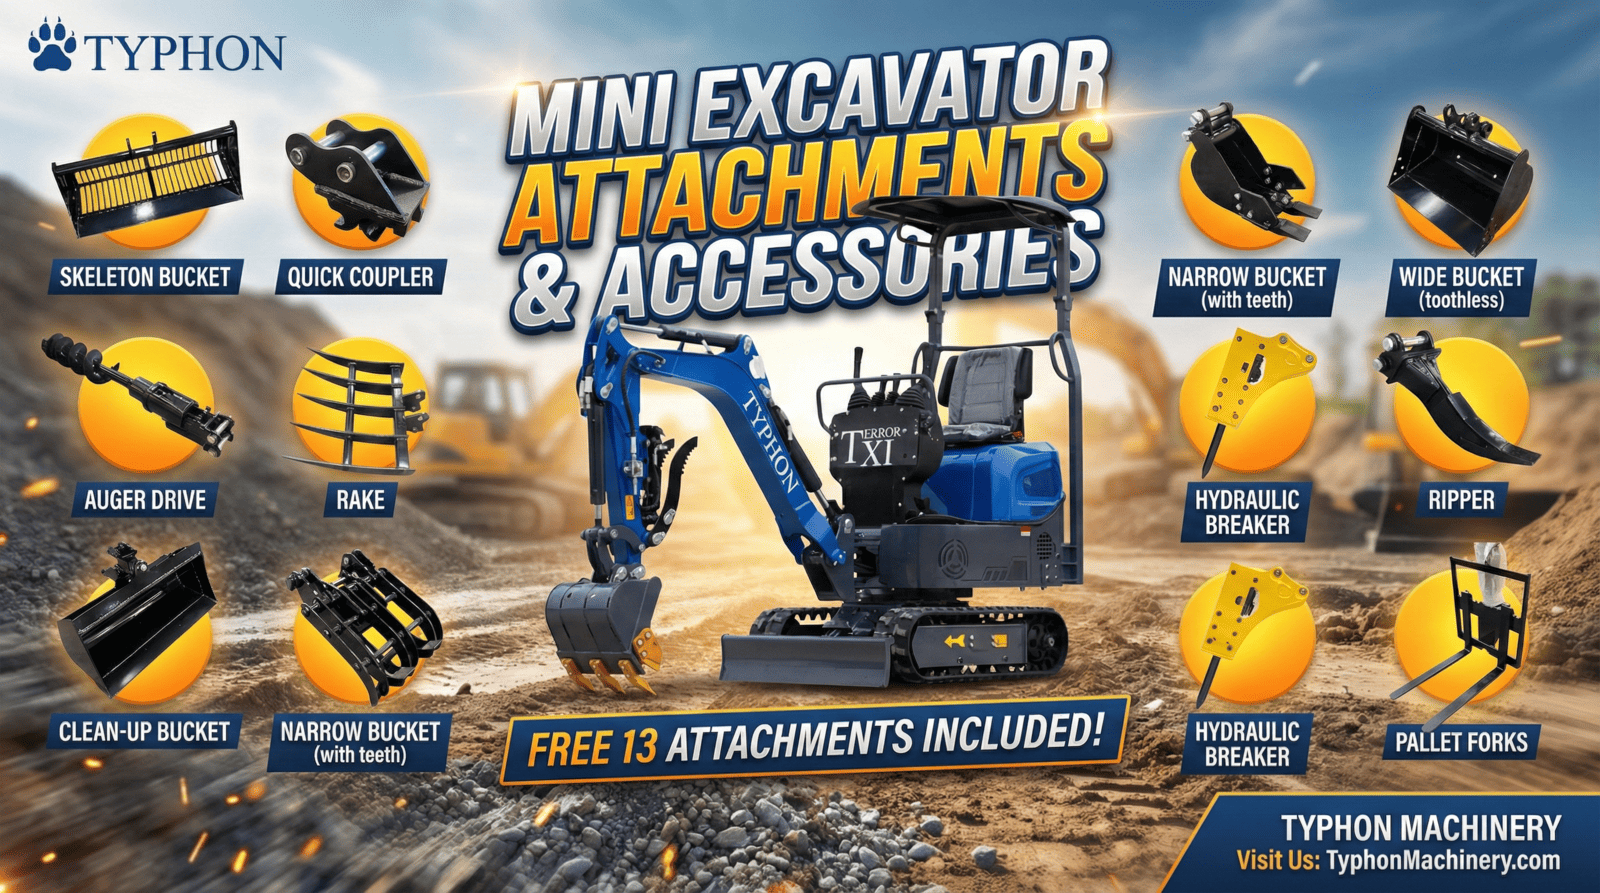
The Toolbox: Essential Attachments Explained
Let’s get into the metal. Here is how the most common attachments work in the real world and why you might need them.
1. Digging Buckets: The Bread and Butter
We have to start here, but let’s be specific. You don’t just use a bucket.

- Standard Tooth Bucket: This is your aggressive digger. It’s got teeth (shanks) that bite into the soil. Great for general excavation.
- Trenching Bucket: These are narrow (often 12 inches or less). If you are laying utility lines or irrigation pipes, you would rather not move a yard of dirt just to bury a 4-inch pipe. A trenching bucket keeps your backfill manageable and the site clean.
- Grading (Ditching) Bucket: These are wide, have no teeth, and feature a smooth cutting edge. This is what you use at the end of the job to smooth out the topsoil like you’re icing a cake.
Real-world scenario: You use the tooth bucket to rip out the main hole for a swimming pool, switch to a trenching bucket for the plumbing lines, and finish with a grading bucket to prep the deck area.
2. Hydraulic Breaker (The Hammer)
There is nothing quite as satisfying—or as loud—as a hydraulic breaker. When it comes to demolition, this is an essential tool.

How it works: It uses the excavator’s auxiliary hydraulics to drive a piston that strikes a chisel bit hundreds of times a minute.
Best for: Demolishing concrete driveways, breaking up rocky soil that a bucket can’t penetrate, or removing old foundations. It turns days of jackhammering into an hour of joystick work.
3. The Auger: Precision Drilling
If you’ve ever used a manual two-man post hole digger, you know it’s back-breaking work. An auger drive unit hangs from the stick of the excavator and drills perfect, plumb holes.

Why operators love it: You can reach over obstacles. Need to drill a hole for a fence post on a slope or behind a retaining shrub? A mini excavator for construction can reach out and drill where a skid steer or tractor can’t drive.
Best for: Fencing, deck footings, planting trees, and installing signposts.
4. The Thumb (and Grapple)
If you ask any experienced operator to identify the one must-have option, 90% will say, Get a thumb.

A hydraulic thumb works with your bucket like a human hand. Without it, you are just scooping. With it, you are grabbing.
Real-world scenario: You are clearing land. You come across a large stump or a concrete slab. With a thumb, you can clamp down on the object, lift it, and place it gently into a dump truck. Without a thumb, you’re balancing that heavy object precariously on the bucket, risking it falling on the cab or the truck.
5. The Ripper
Sometimes the ground fights back. Frost, clay hardpan, or tangles of thick roots can stop a standard bucket dead. A ripper looks like a giant claw (a single shank). It concentrates all the machine’s breakout force into one tiny point.

Best for: Pre-digging in frozen ground or ripping out stubborn roots before coming back with a bucket to scoop out the loose material.
6. Landscaping and Cleanup Tools
This is where mini excavator versatility really shines.
- Rakes: These allow you to comb through the soil, pulling out rocks and debris while leaving the good dirt behind.
- Flail Mowers: Yes, you can put a mower on an excavator. This lets you mow down tall brush on steep embankments or over guardrails where a tractor would tip over.

Comparative Analysis – The “Right Tool” Matrix
To help you visualize why these specific Typhon Machinery attachments matter, let’s look at a comparative breakdown of common tasks.
Task: Removing a Concrete Patio (400 sq ft)
| Method | Equipment Needed | Labor Required | Time Estimated | Physical Strain |
| Manual | Sledgehammers, pry bars, wheelbarrows | 3 Men | 2 Days | Extreme (High injury risk) |
| Basic Machine | Excavator with Bucket (No Thumb) | 1 Operator + 1 Laborer | 6 Hours | Medium (Difficult to load heavy chunks) |
| The Typhon System | Terror XIX + Hydraulic Breaker + Thumb | 1 Operator | 3 Hours | Zero (Operator stays in cab) |
Task: Installing 50 Fence Posts
| Method | Equipment Needed | Accuracy | Time per Post | Issues |
| Manual | Clamshell diggers / Spud bar | Low | 30 Mins | Roots/Rocks stop work entirely |
| Gas Auger | 2-Man Handheld Power Auger | Medium | 10 Mins | Dangerous kickback; exhausting |
| The Typhon System | Typhon Mini Ex + Auger Drive | High (Laser plumb) | 2 Mins | Drills through roots effortlessly |
Efficiency: Doing More with Less
The primary argument for investing in compact excavator attachments is the labor shortage. It is getting harder to locate guys who are willing to run a shovel or a wheelbarrow all day.
When you equip your machine with the right tools, you reduce manual labor. A grapple means no one is lifting heavy logs by hand. An auger eliminates the need for anyone to twist their back while digging holes. You aren’t just saving time; you are saving your body and your crew’s bodies. That translates to fewer injuries and more energy to get the job done right.
The Typhon Ecosystem: Why Compatibility is Key
One of the biggest headaches for equipment owners is compatibility. You may purchase a cheap generic bucket online, but when it arrives, you might discover that the pin diameter is 30 mm, while your machine requires a 25 mm pin. Alternatively, the ears of the bucket may be too narrow to fit your stick. Alternatively, the hydraulic couplers may be the incorrect size.
This is why sticking to the Typhon Machinery ecosystem is a strategic move, not just brand loyalty. Typhon engineers their attachments to match the hydraulic pressure (PSI) and flow (GPM) of their specific models.
Furthermore, there is the issue of weight balance. A mini excavator relies on a counterweight to stay upright. Adding a heavy aftermarket attachment to the stick makes the machine tippy and unsafe. Typhon designs their buckets and hammers to be light enough to maintain stability but heavy enough to do the work. It’s a balance that generic manufacturers often miss.
Conclusion: A Smart Investment
Buying a mini excavator is a big step. But buying the machine without considering the attachments is like buying a high-end drill and only owning one drill bit.
The right attachments transform your machine from a seasonal digger into a year-round revenue generator. You can do demolition in the winter with a breaker, fencing in the spring with an auger, and land clearing in the summer with a rake and thumb.
Whether you are in construction, agriculture, or utility work, the goal is always the same: get in, do the work efficiently, and get out. A mini excavator with the right attachments is the best way to make that happen.
Frequently Asked Questions (FAQ)
Are all attachments universal?
Not exactly. While many use standard pin sizes (like 35 mm or 40 mm pins), you need to match the attachment to your machine’s weight class and hydraulic flow. Always check the specs before buying.
How hard is it to change attachments?
If you have a mechanical quick coupler, it takes a few minutes and a wrench. You can switch buckets from the cab in a matter of seconds if you have a hydraulic quick coupler. Connecting hydraulic hoses (for breakers or augers) usually takes a minute or two of manual work.
Do attachments require extra maintenance?
Yes. Anything with moving parts (like breakers and augers) needs to be greased regularly. Hydraulic breakers, in particular, need to be checked for nitrogen levels and internal wear.
Can I use a high-flow attachment on a standard machine?
Usually, no. Attachments like heavy-duty mulchers often require high-flow hydraulics. If you run them on a standard flow machine, they will lack power or stall. Always match the attachment’s flow requirements (GPM) to your machine.
Can I use Typhon attachments on other brands (Kubota, Bobcat, CAT)?
Generally, yes. The attachment industry uses standardized measurements based on machine weight (e.g., 2-ton, 5-ton class) and pin diameter (25 mm, 30 mm, 40 mm). If the “pin spread” (distance between pins) and “ear width” match, a Typhon bucket will fit a Kubota, and vice versa. Always measure twice before buying.
What is the difference between a mechanical and hydraulic quick hitch?
A mechanical quick hitch (semi-automatic) requires you to leave the cab and use a tool (usually a bar or wrench) to unlock the attachment. A hydraulic quick hitch lets you unlock and swap buckets purely by pressing a button in the cab. Hydraulic is faster but more expensive and requires extra plumbing.
My hydraulic breaker isn’t hitting hard. What’s wrong?
First, check your hydraulic mode. Some machines have a valve to switch between “one-way flow” (for hammers) and “two-way flow” (for augers/thumbs). If you are in the wrong mode, it won’t work right. Second, check if you have enough down-pressure on the bit—the breaker needs to be pressed firmly against the rock to fire.
Can I dig with a grading bucket?
You can, but you shouldn’t dig hard, compacted soil with it. Grading buckets are wide and have a large surface area. Trying to force them into firm clay puts massive stress on the bucket and the machine’s boom. Use a tooth bucket to dig and a grading bucket to finish.
Is a thumb really necessary?
Ask anyone who has one. Once you utilize a thumb, you will find it impossible to operate a machine without one. It transforms the machine from a “scooper” into a “grabber.” For clearing brush, rocks, or demolition debris, it is absolutely essential.