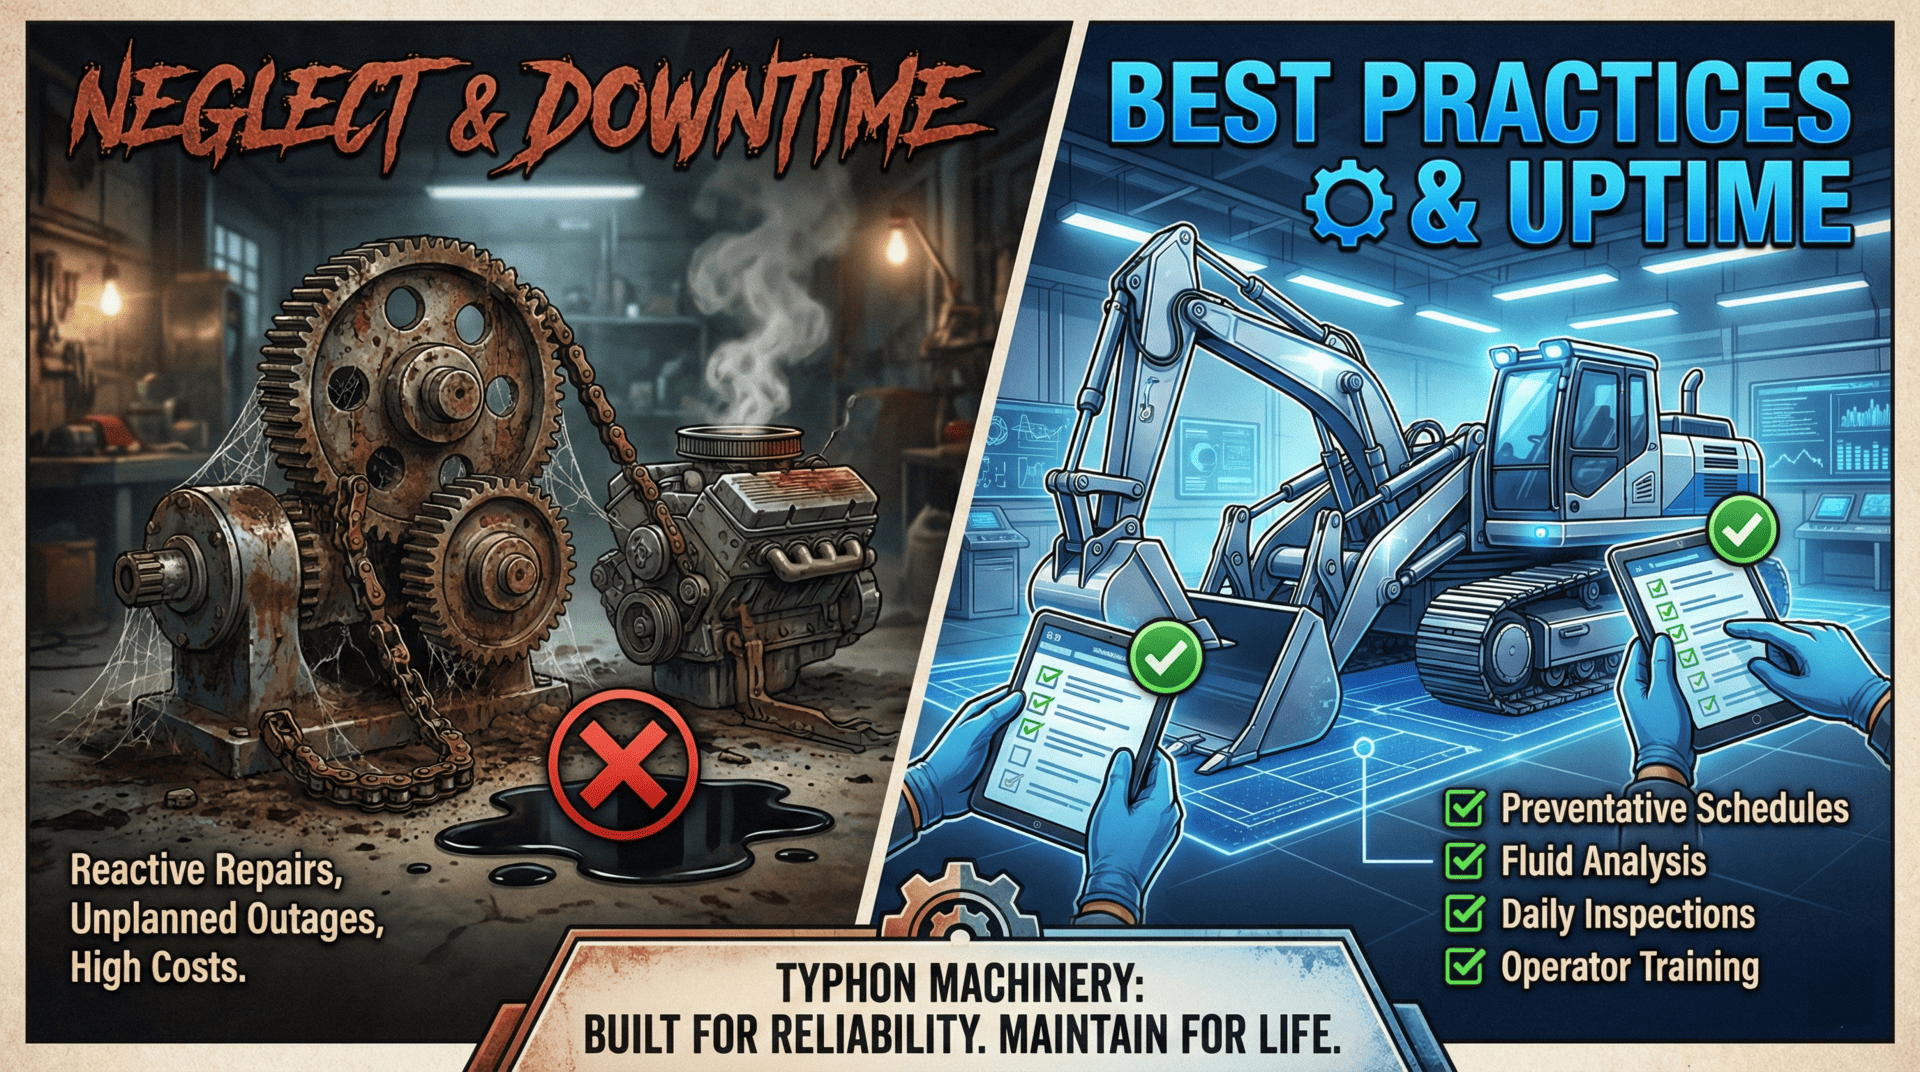
Mini excavators are incredibly versatile machines that serve crucial roles in construction, landscaping, and excavation projects. However, ensuring their efficient and safe operation requires careful preparation before work begins. This blog will outline the key steps for preparing your mini excavator, from pre-startup inspections to post-operation maintenance, ensuring smooth performance and maximizing the machine’s longevity.
1. Pre-Startup Inspection: Ensuring Safety and Stability
Before starting up your mini excavator, a thorough inspection is crucial to ensure the machine operates safely and efficiently. This step can help identify any potential issues and avoid accidents or breakdowns during operation. Here’s a checklist of key inspections to perform:
A. Clear the Working Radius
Start by inspecting the work area. Ensure there are no obstacles, debris, or other hazards within the excavator’s working radius. This precaution prevents potential collisions with structures, equipment, or personnel once the machine starts operating.
B. Check for Oil Leaks
Inspect the machine for any visible oil leaks. Leaks in hydraulic fluid, engine oil, or fuel can lead to equipment failure and pose safety risks. If leaks are identified, repair them before operating the machine.
C. Inspect Fluid Levels
Check the engine oil, fuel, and hydraulic oil levels to ensure they are within the recommended ranges. Low fluid levels can lead to poor machine performance or cause severe engine damage during operation. Always top off fluids before beginning work.
D. Lubrication Points
Examine the lubrication points on the excavator. Add lubricating oil to the necessary areas to minimize wear and ensure smooth movement of the machine’s components. This practice is particularly important in preventing premature wear on parts like joints, hinges, and pins.
E. Track Tension
The tension of the mini excavator’s tracks plays a significant role in its stability and ease of movement. Inspect the track tension and adjust it if any looseness is detected. Loose tracks can impair the machine’s traction and overall maneuverability.
F. Check Operating Handles and Buttons
Without starting the engine, test each operating handle and button for proper function. Ensure that handles move smoothly and return to their neutral positions. Faulty handles or buttons can make machine control unpredictable, leading to accidents or inefficient operation.
G. Engine Warm-Up
Once the preliminary checks are completed, start the engine and allow it to idle for 5-10 seconds before increasing the throttle. This warm-up period helps the engine reach an optimal temperature and ensures smoother operation.
2. Operational Essentials: Traveling and Excavation Techniques
Operating a mini excavator requires precision and attention to detail. Below are essential steps for safely moving and utilizing your excavator:
A. Traveling with the Excavator
The mini excavator’s movement is controlled by its traveling handles. Learning how to handle the machine properly will ensure safe maneuverability on-site.
- Straight Travel: Move the handles forward to drive the machine forward, and backward to reverse. This simple action controls the straight movement of the excavator.
- Steering:
- In-situ Left Turn: Move the left handle backward while pushing the right handle forward. This action causes the machine to pivot left in place.
- In-situ Right Turn: Move the right handle backward while pushing the left handle forward to turn right in place.
- Left Turn (using the left track as an axis): Move the right handle forward to pivot the machine left, keeping the left track stationary.
- Right Turn (using the right track as an axis): Move the left handle forward to pivot the machine right, with the right track as the axis.
B. Excavation Operations
Excavating is the primary function of the mini excavator, and its movements must be precise. Use the machine’s two control handles to control the slewing motion (cab rotation) and the work equipment (boom, arm, and bucket). Familiarize yourself with the positioning and operation of these controls to ensure smooth excavation.
3. Post-Operation Inspection: Shutdown and Maintenance
Once the work is complete, performing a post-operation inspection is just as important as the pre-startup checks. Proper shutdown and maintenance keep the mini excavator in optimal condition for future use.
A. Park on Flat Ground
Before shutting off the machine, drive it to a flat, stable location. Lower the bucket to the ground and turn off all switches to shut down the engine safely.
B. Check for Oil Leaks Again
After turning off the engine, conduct another visual inspection for oil leaks. Any issues should be addressed before the next use.
C. Lubricate Hinges and Joints
Add lubricating oil to each hinge based on the machine’s operating hours. This prevents wear on the machine’s moving parts, ensuring that they function properly the next time the excavator is used.
D. Protection from Weather
If the mini excavator will not be used for an extended period, cover the machine to protect it from rain or other environmental elements. Rain can corrode electrical components and cause rusting, affecting the performance and safety of the excavator.
Conclusion
Preparing your mini excavator for work requires a combination of proactive inspections, careful operation, and post-use maintenance. By following these preparation steps, you ensure that your machine runs smoothly, safely, and with minimal downtime. Regular checks, especially for fluid levels, track tension, and operating handles, can prevent costly repairs and ensure a long service life for your mini excavator. Always prioritize safety and performance by making these preparation steps a standard part of your daily operation routine.


